Building a Way Too Complicated Mailbox
I moved into a new house recently and the existing mailbox was falling apart and needed to be replaced. I've also been learning about wood working and wanted to try building something a little complicated and maybe a little different. Here's the design I came up with.
![Mailbox Design 3D](/blog-images/building-a-way-too-complicated-mailbox/mailbox-3d-03.jpg)
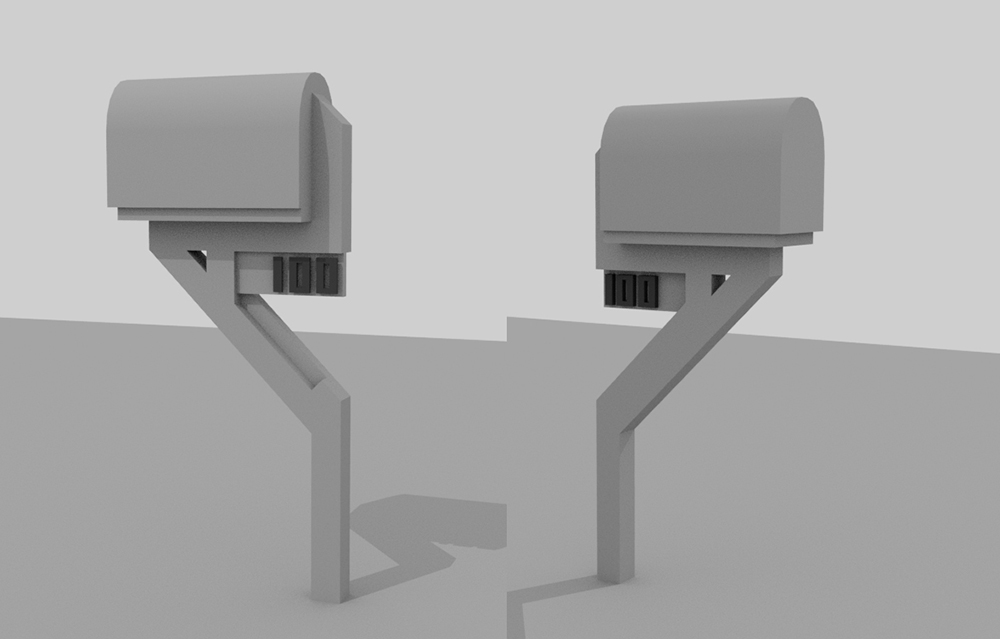
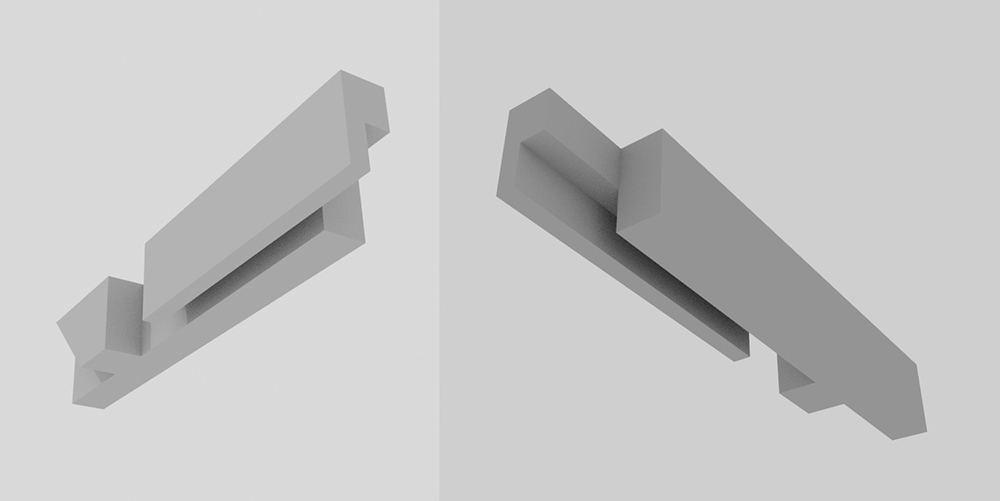
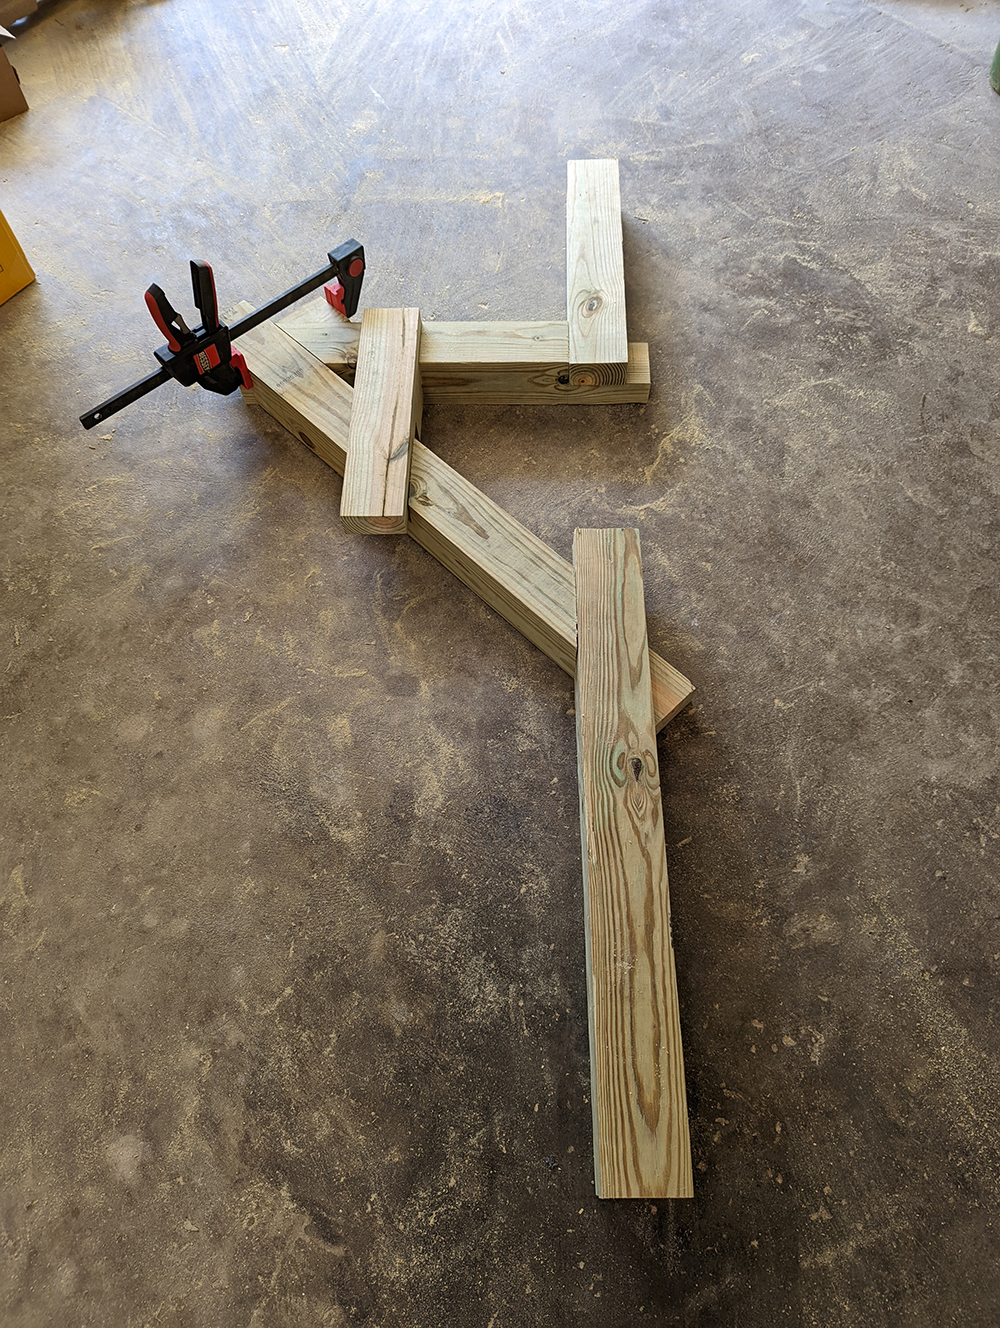
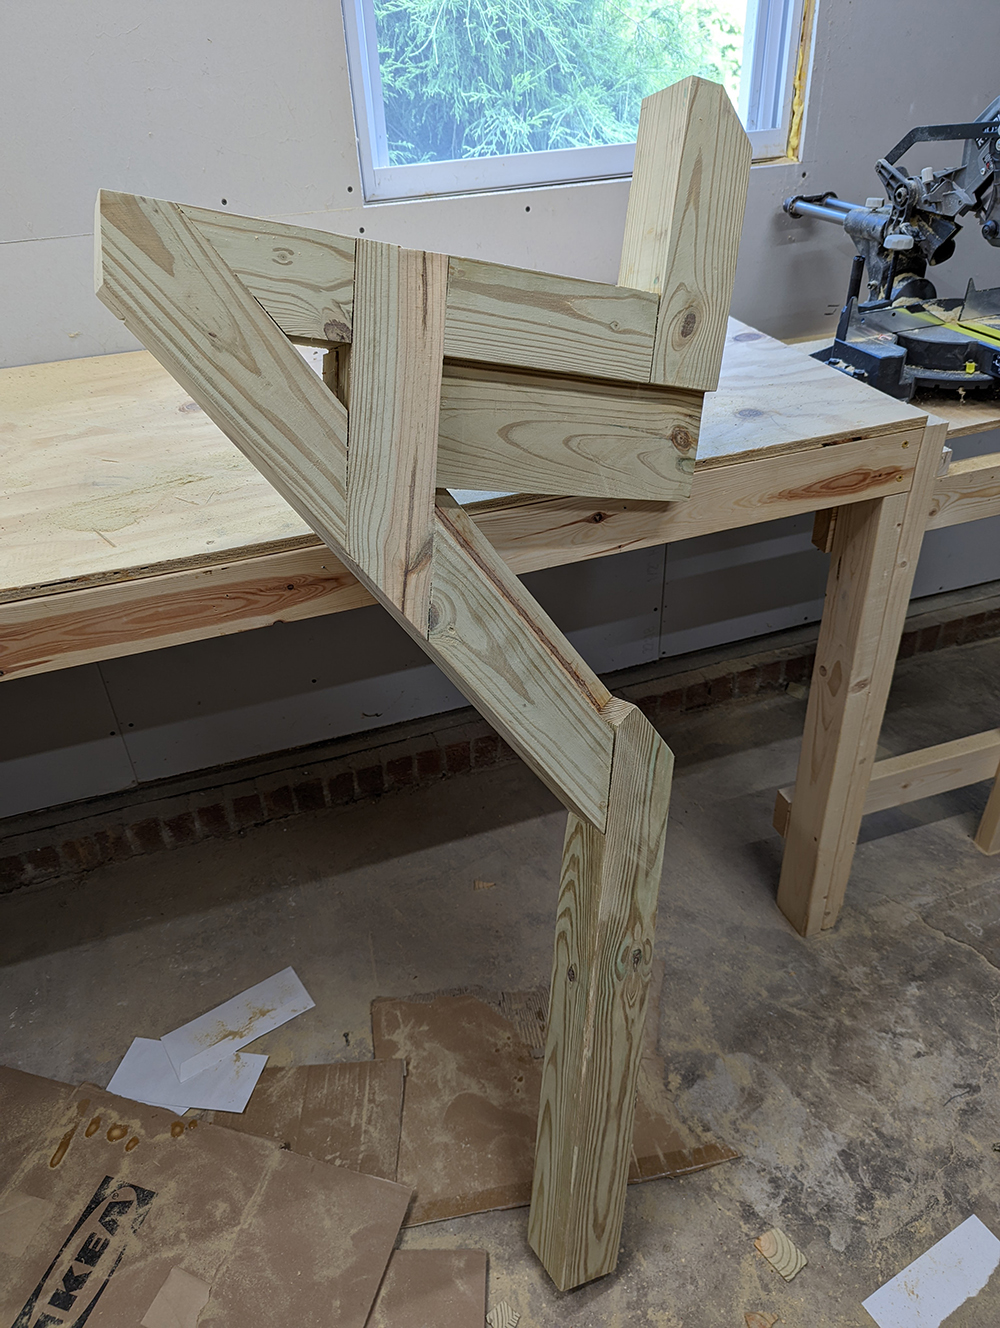
I wanted to do it with joinery instead of screws which meant some of the pieces had to be cut into some pretty odd shapes.
![Mailbox Piece](/blog-images/building-a-way-too-complicated-mailbox/mailbox-3d-04.jpg)
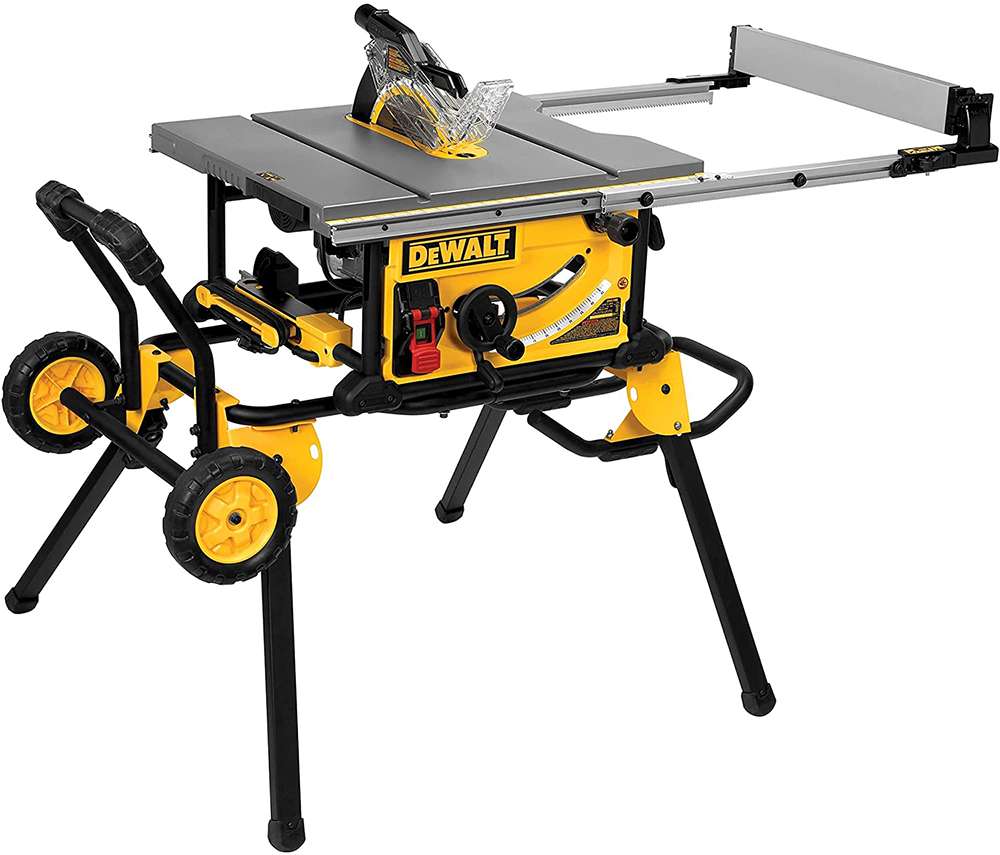
My first attempt to make some of the cuts was with a japanese hand saw, some chisels and a mallet. Videos on youtube make it look so easy but trying to get straight cuts was very hard. After a lot of research I bought a Dewalt Table Saw.
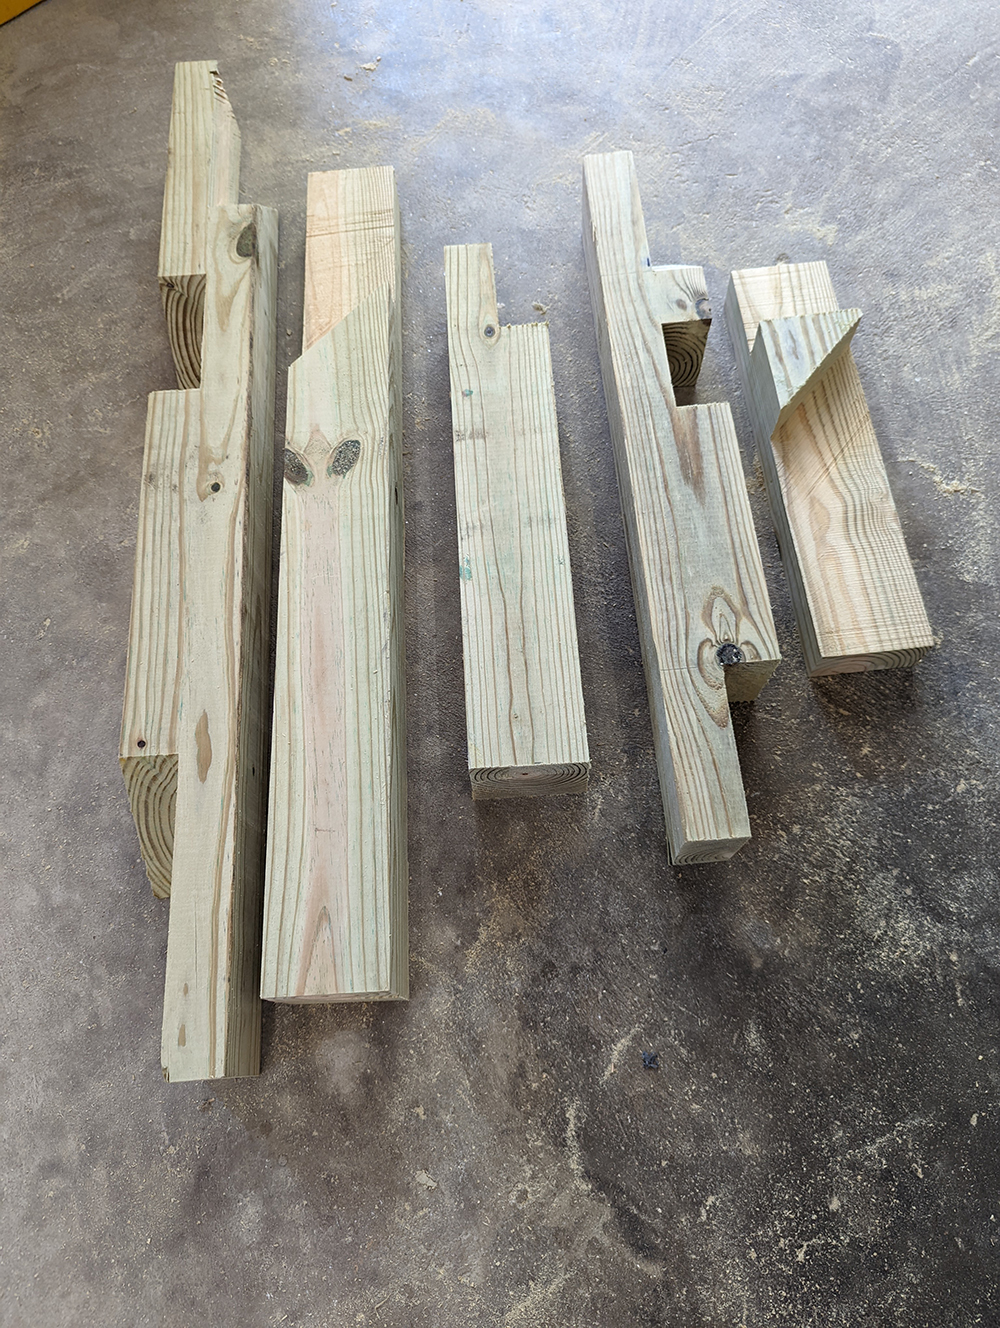
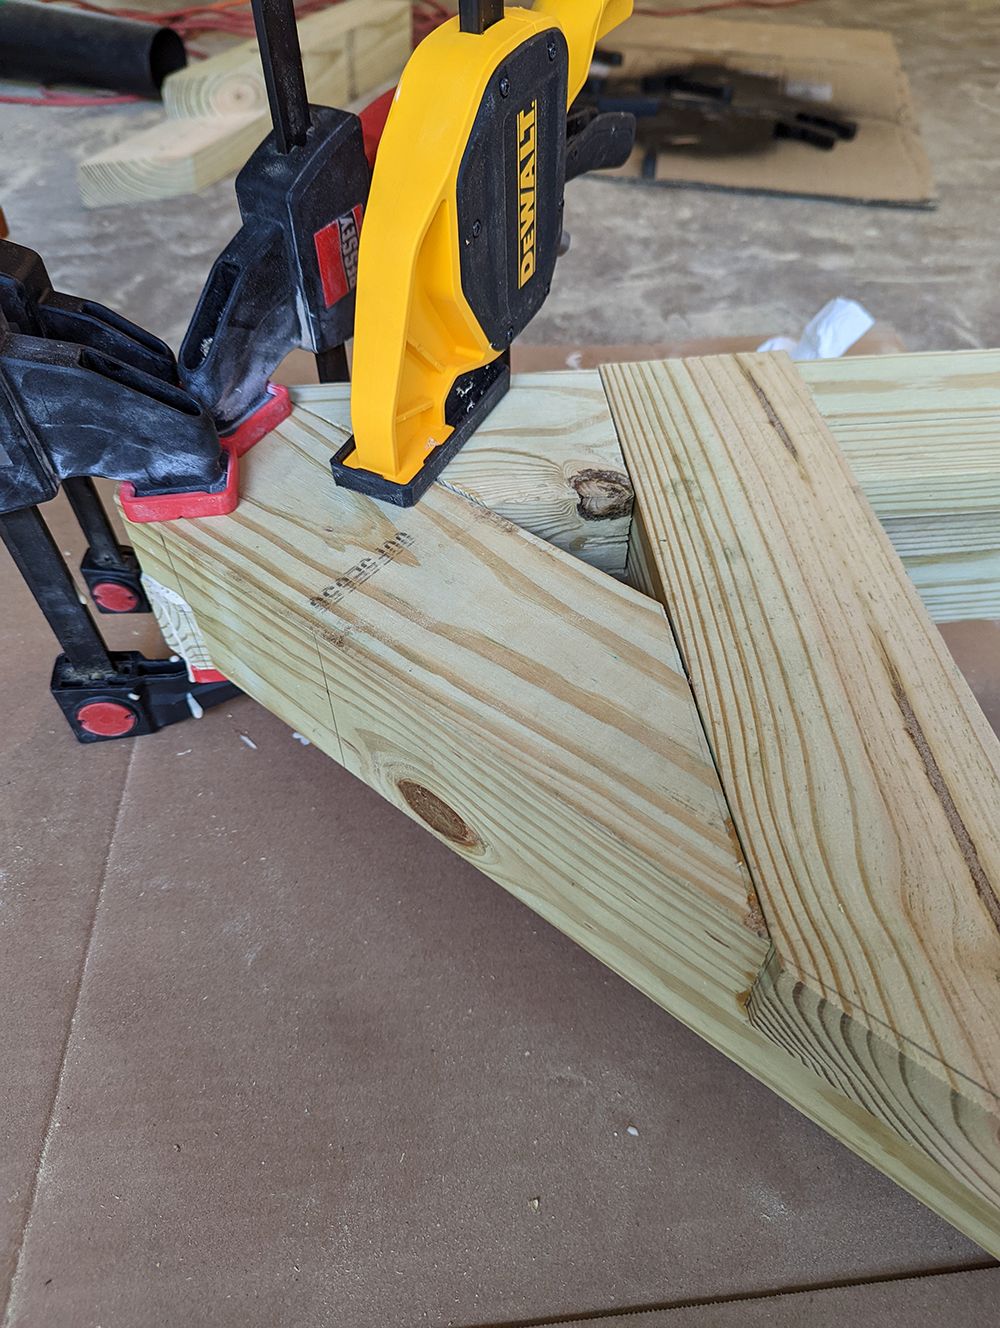
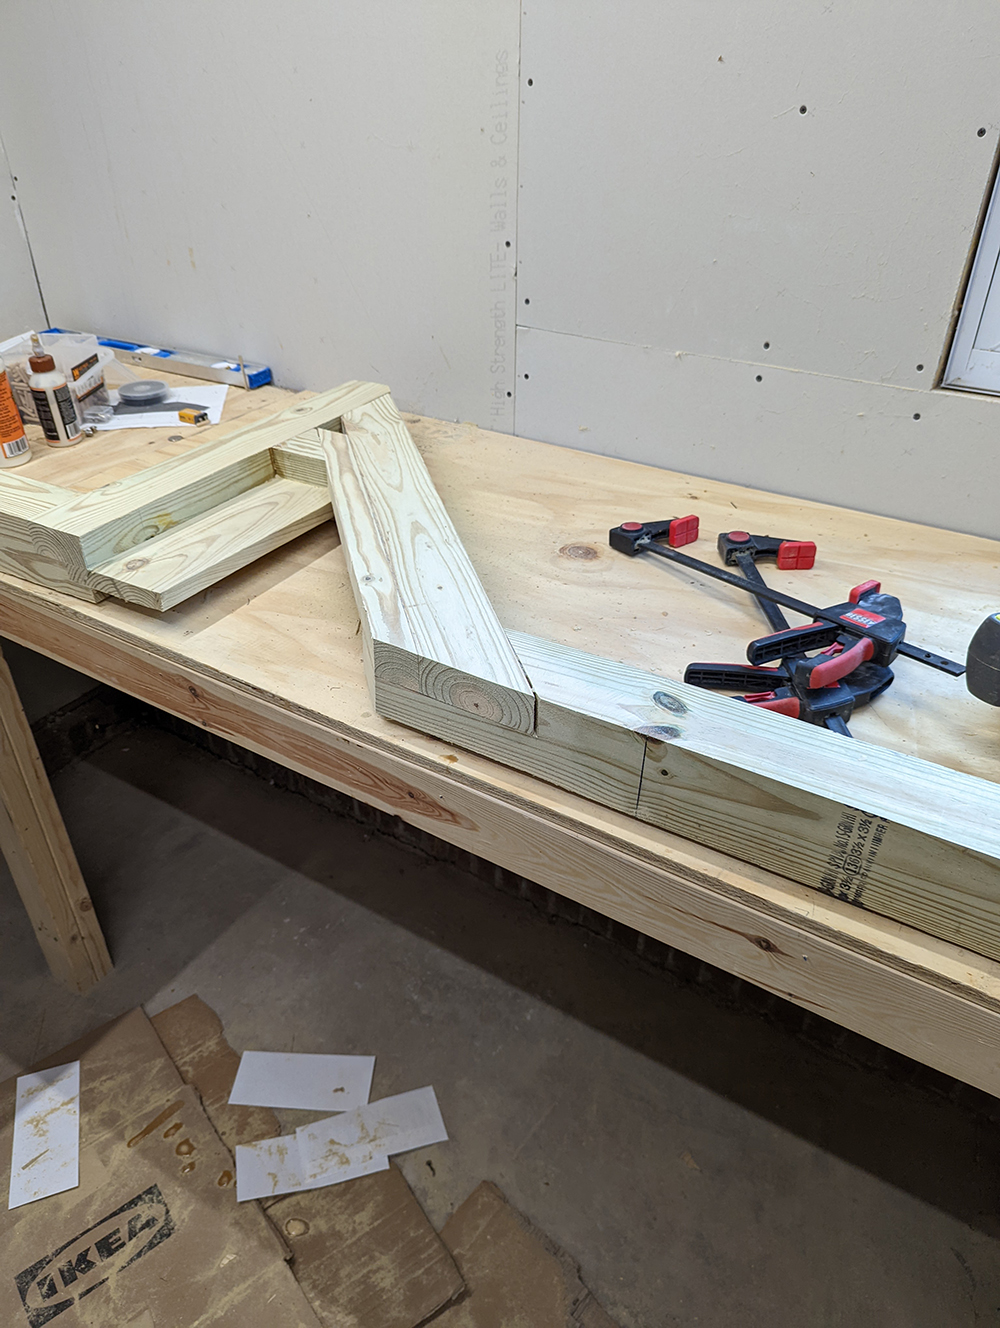
With my new table saw I was able to straight complicated cuts pretty easily. Here are most of the pieces.
![Mailbox Pieces](/blog-images/building-a-way-too-complicated-mailbox/PXL_20220612_171508565.jpg)
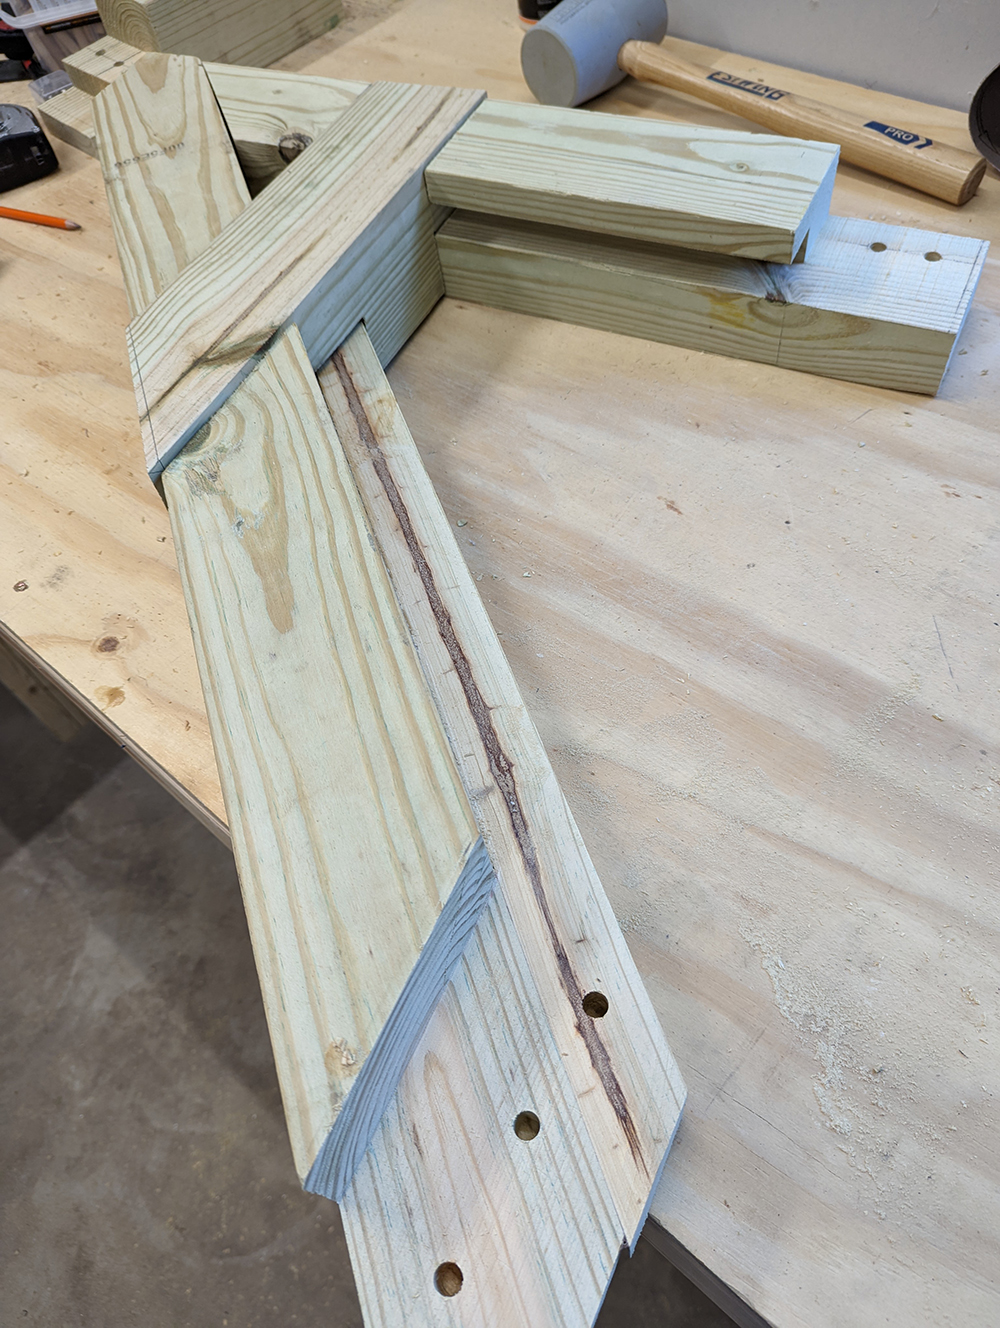
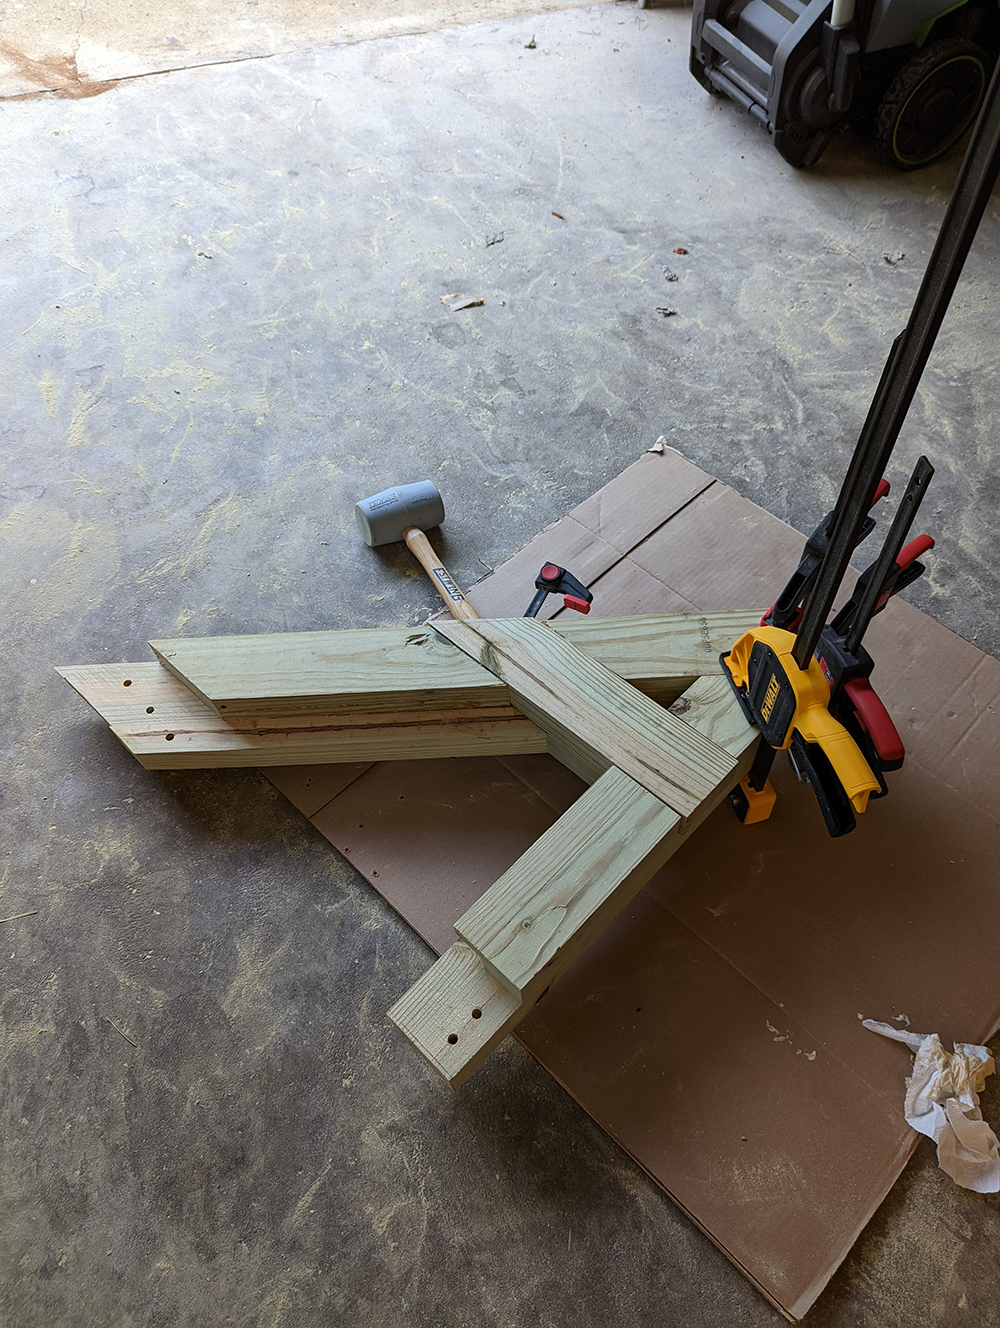
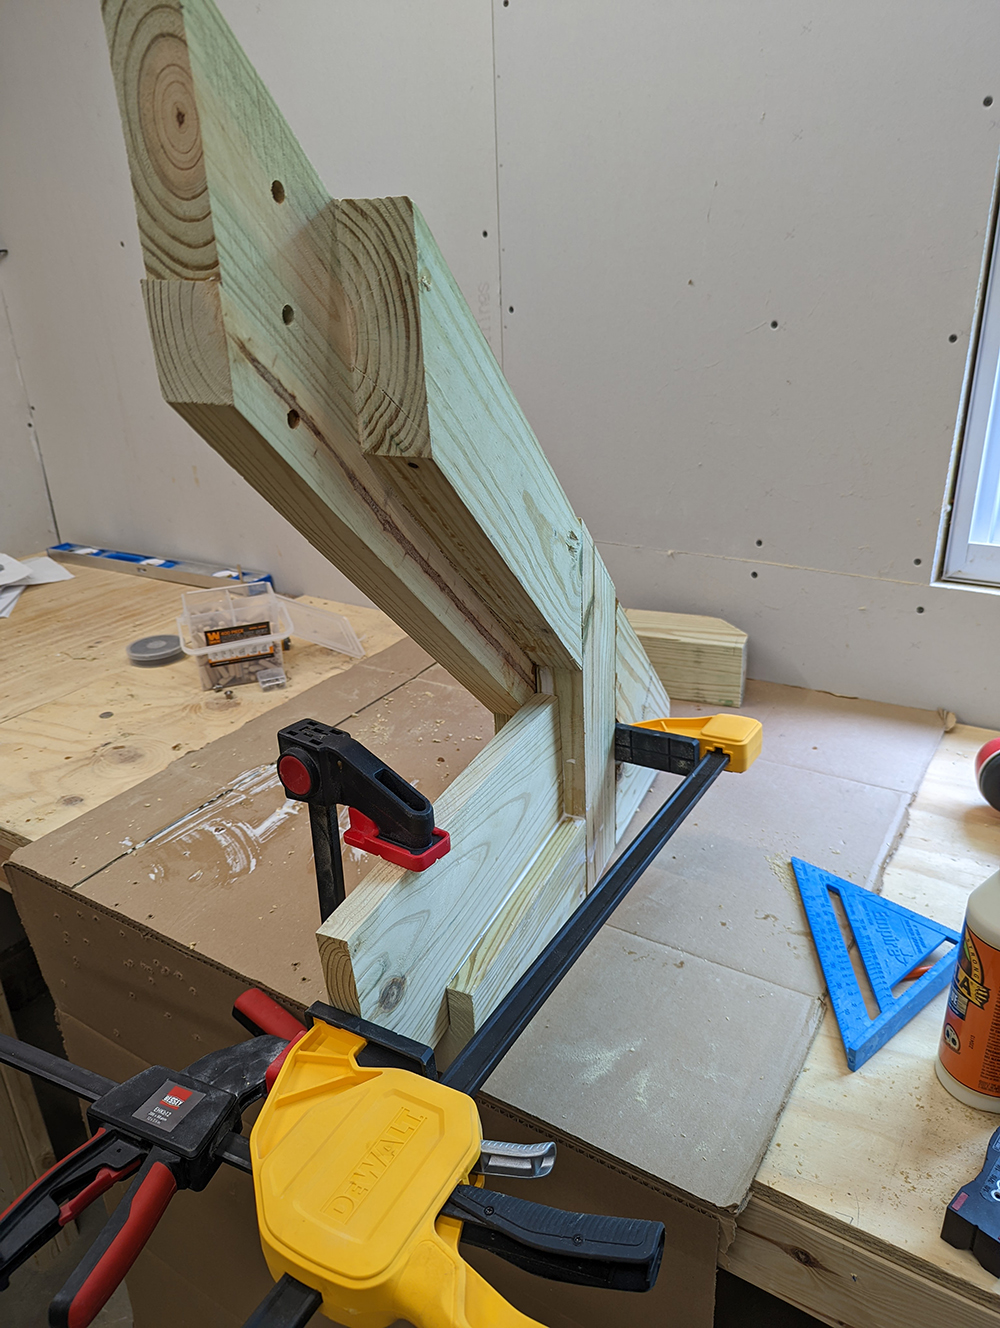
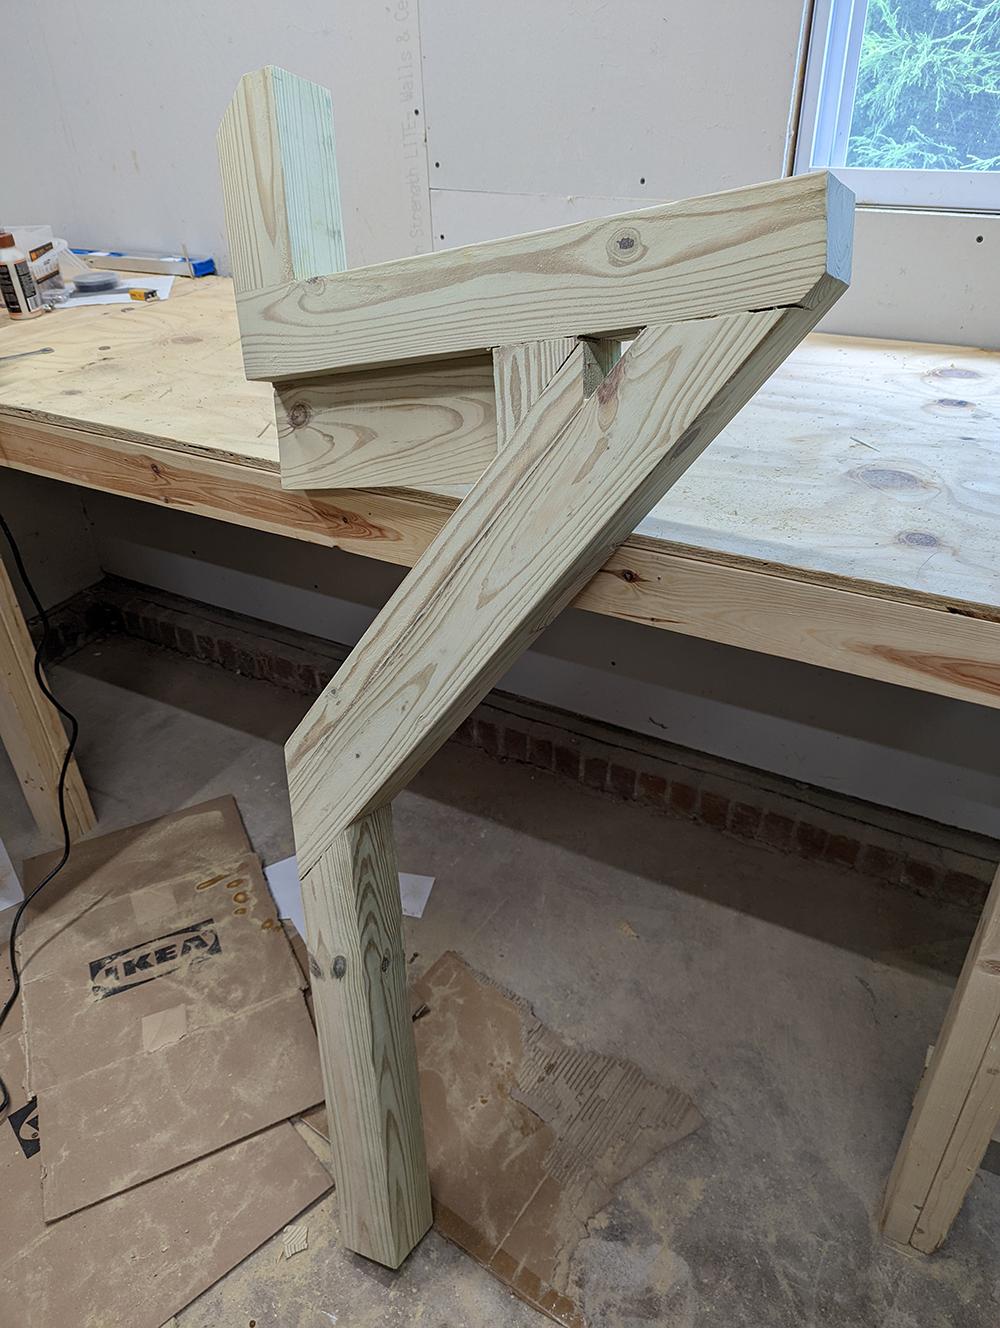
Test fitting them together. I think it's going to work!
![Mailbox Test Fitting](/blog-images/building-a-way-too-complicated-mailbox/PXL_20220612_171829249.jpg)
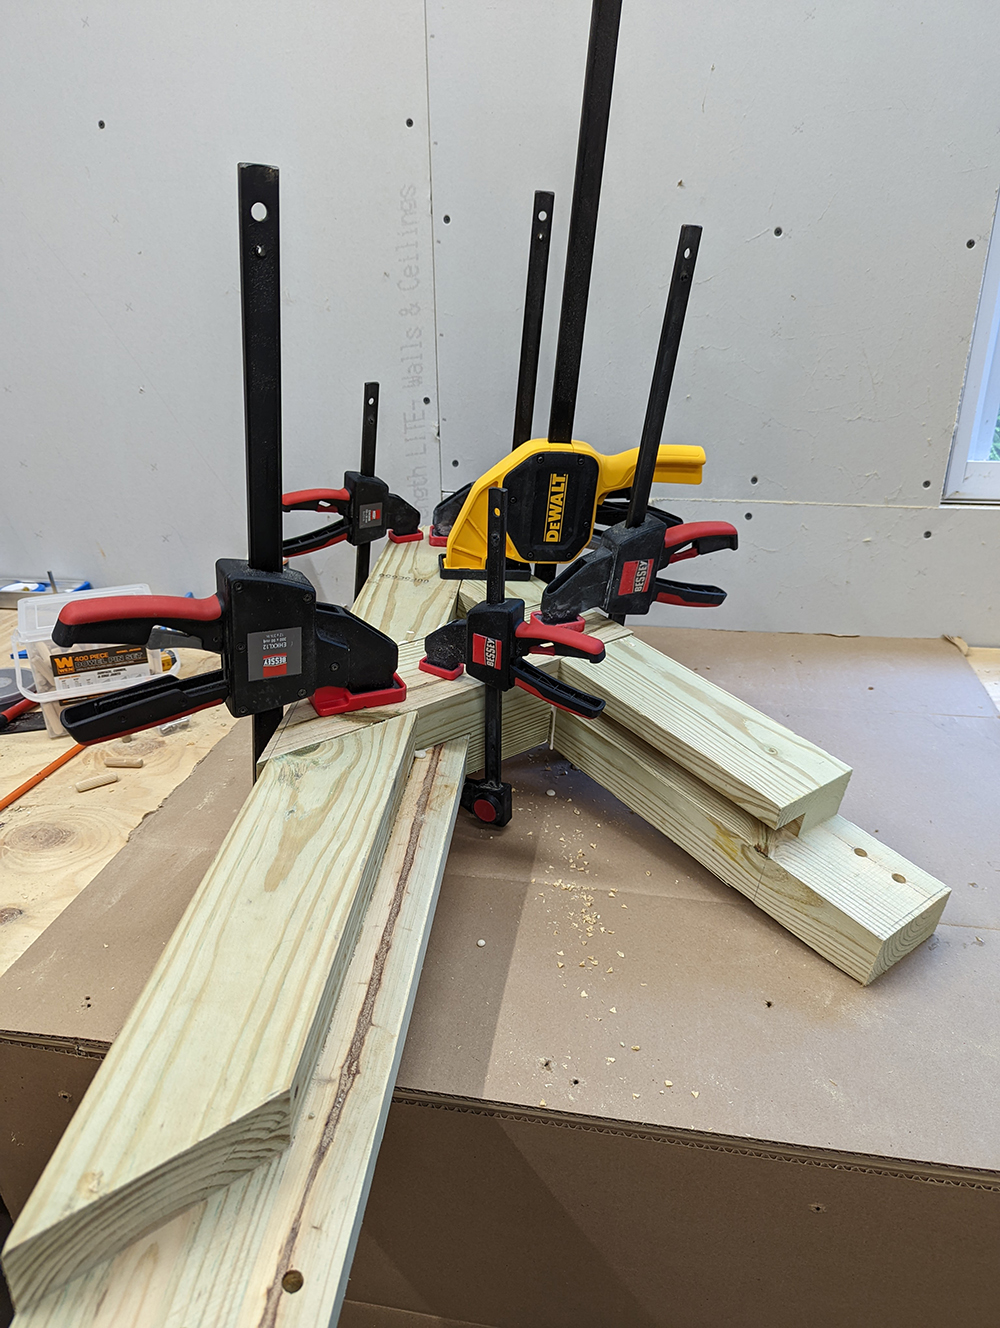
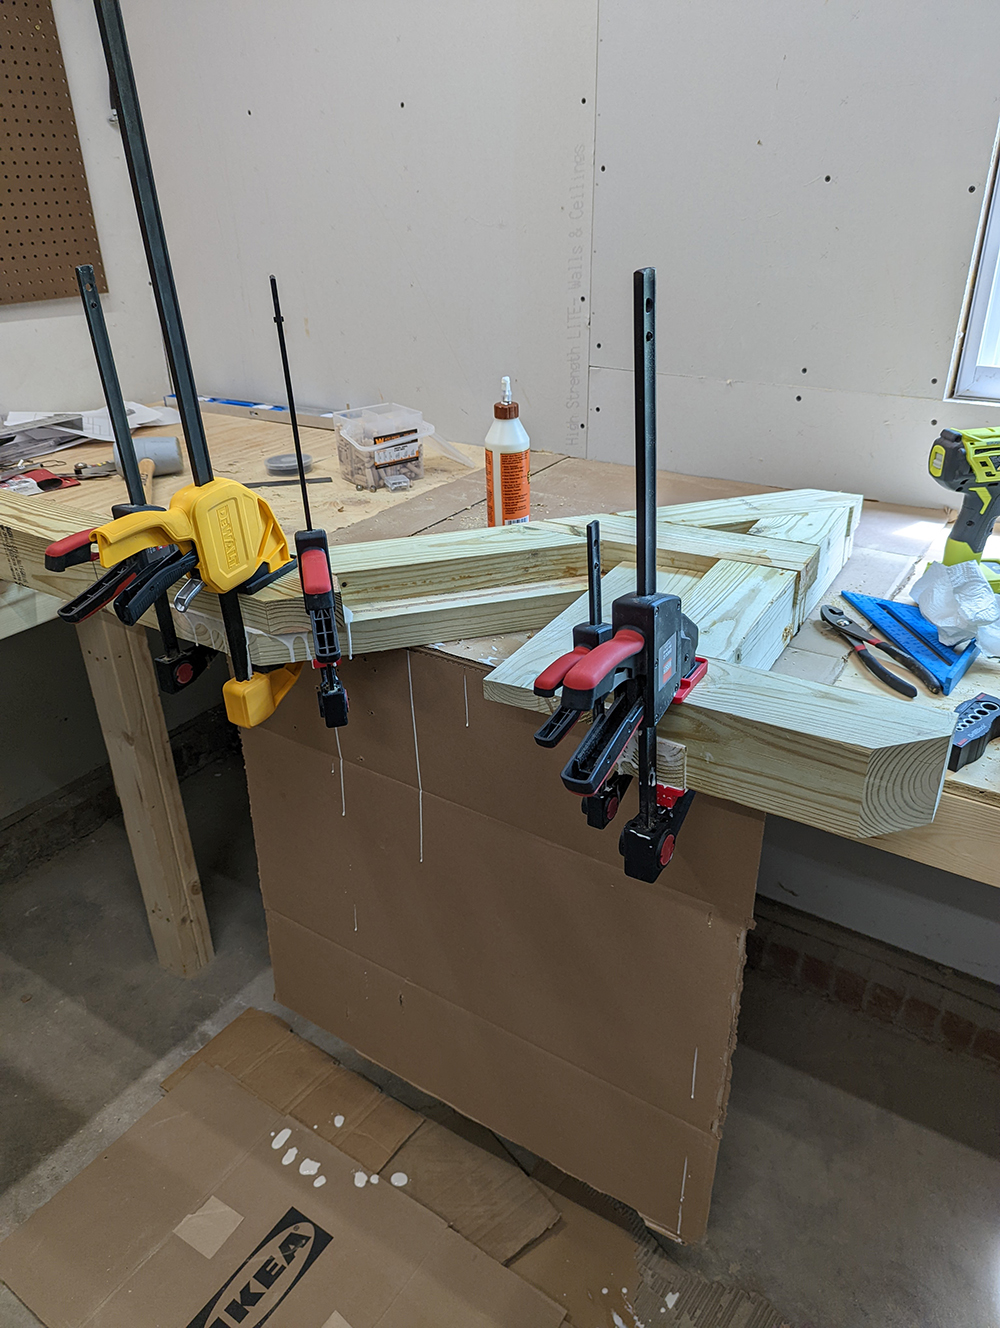
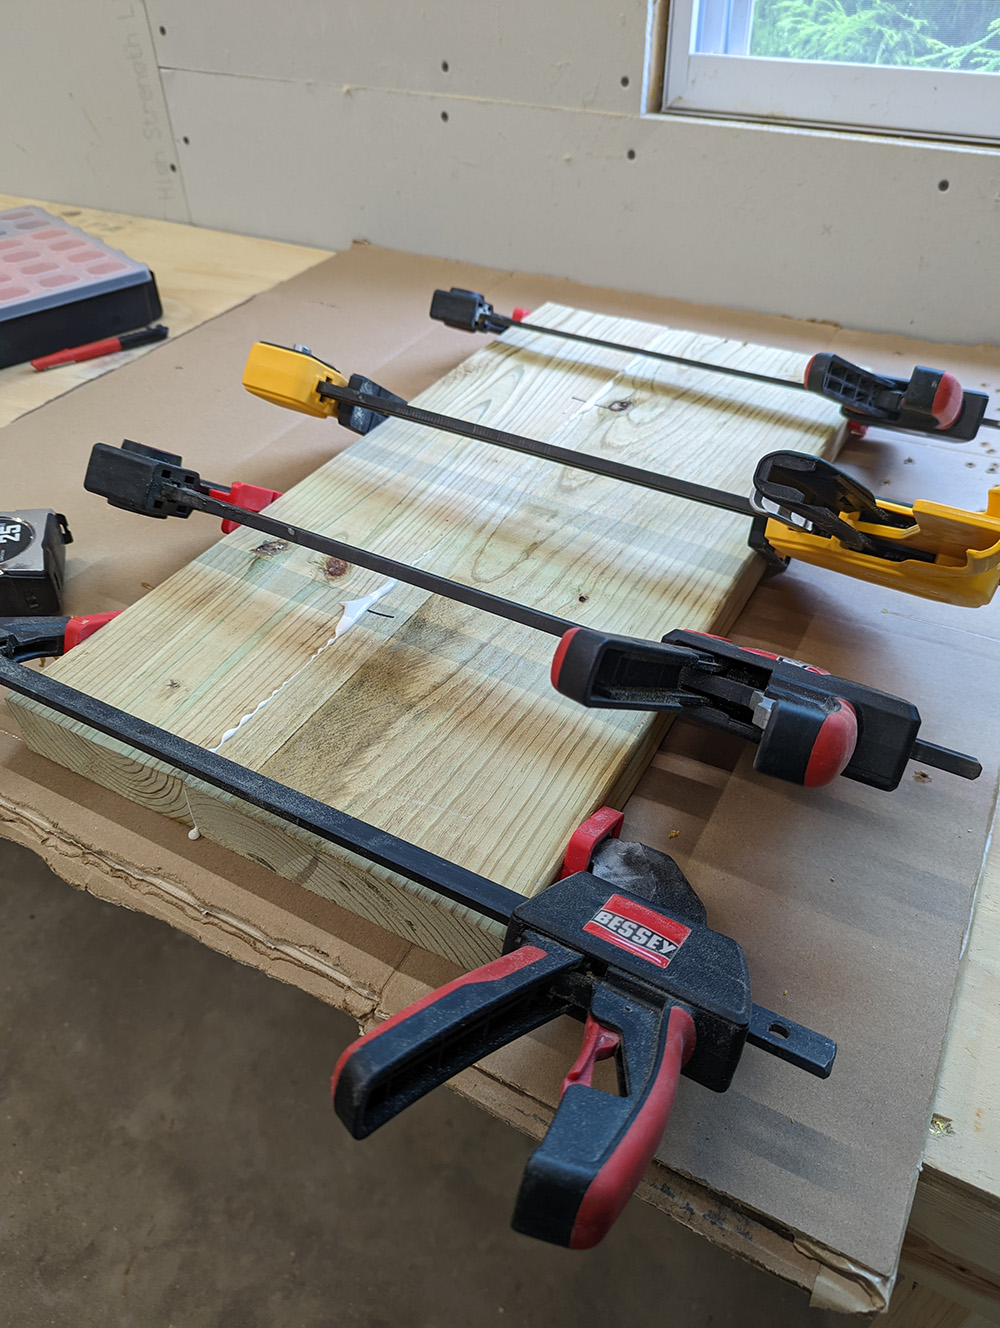
Shots of gluing some pieces together. The holes in the pieces are for dowels which I used instead of screws.
![Mailbox Gluing](/blog-images/building-a-way-too-complicated-mailbox/PXL_20220624_221856536.jpg)
![Mailbox Gluing](/blog-images/building-a-way-too-complicated-mailbox/PXL_20220624_222800470.jpg)
![Mailbox Gluing](/blog-images/building-a-way-too-complicated-mailbox/PXL_20220624_223028337.jpg)
![Mailbox Gluing](/blog-images/building-a-way-too-complicated-mailbox/PXL_20220624_232702314.jpg)
![Mailbox Gluing](/blog-images/building-a-way-too-complicated-mailbox/PXL_20220625_183629699.jpg)
![Mailbox Gluing](/blog-images/building-a-way-too-complicated-mailbox/PXL_20220626_160336198.jpg)
Next step was lots of sanding.
![Mailbox Sanding](/blog-images/building-a-way-too-complicated-mailbox/PXL_20220627_223107694.jpg)
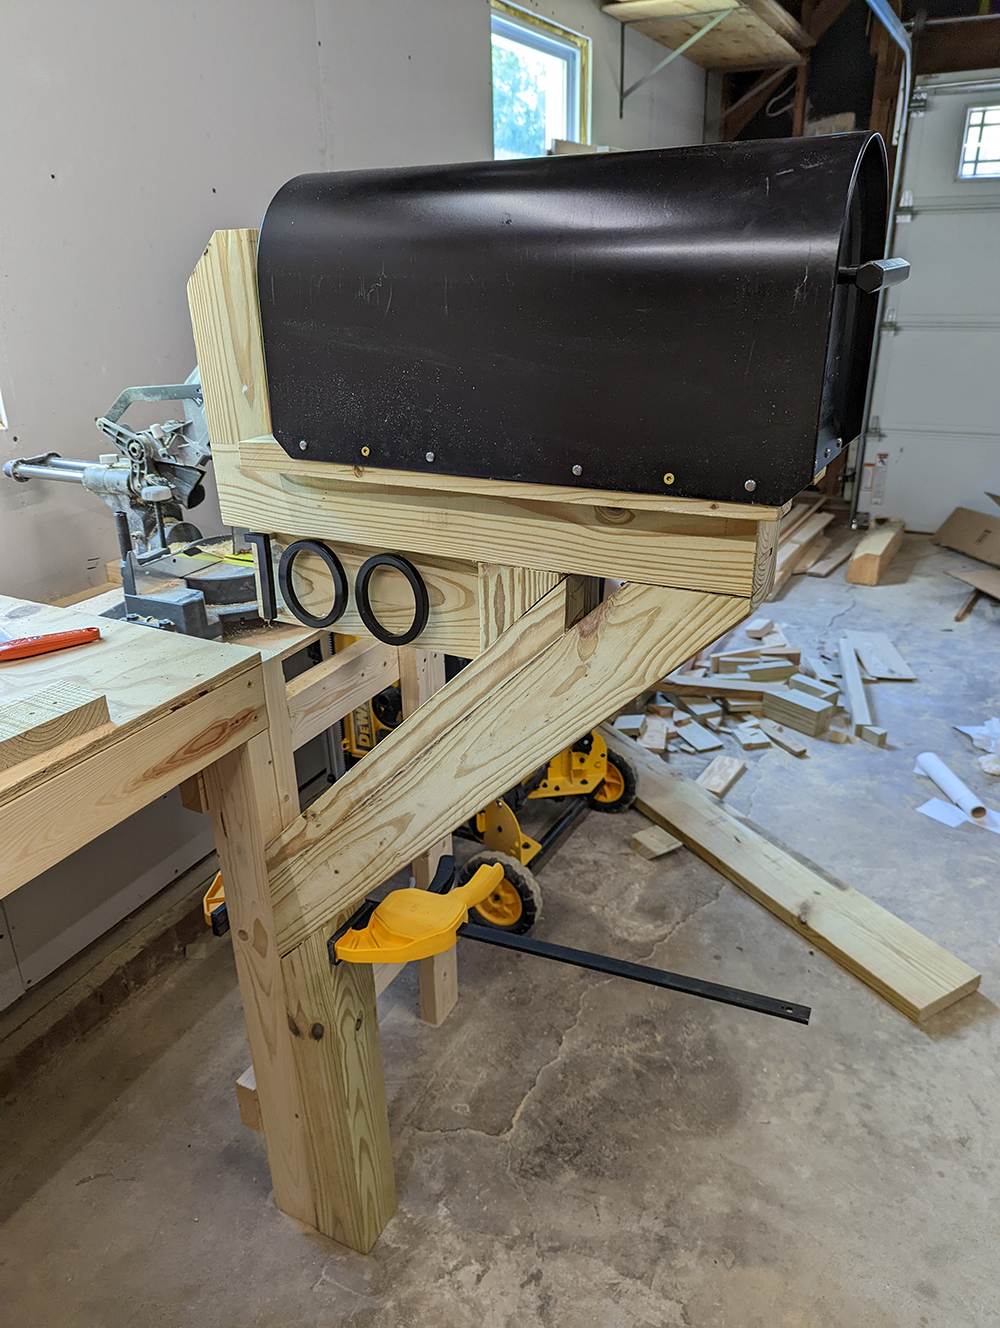
Here's the finished post.
![Mailbox Finished](/blog-images/building-a-way-too-complicated-mailbox/PXL_20220627_224921046.jpg)
![Mailbox Finished](/blog-images/building-a-way-too-complicated-mailbox/PXL_20220627_224858049.jpg)
I didn't have a piece of wood wide enough for the mailbox base so I glued two together with dowels in between.
![Mailbox Gluing](/blog-images/building-a-way-too-complicated-mailbox/PXL_20220628_224140702.jpg)
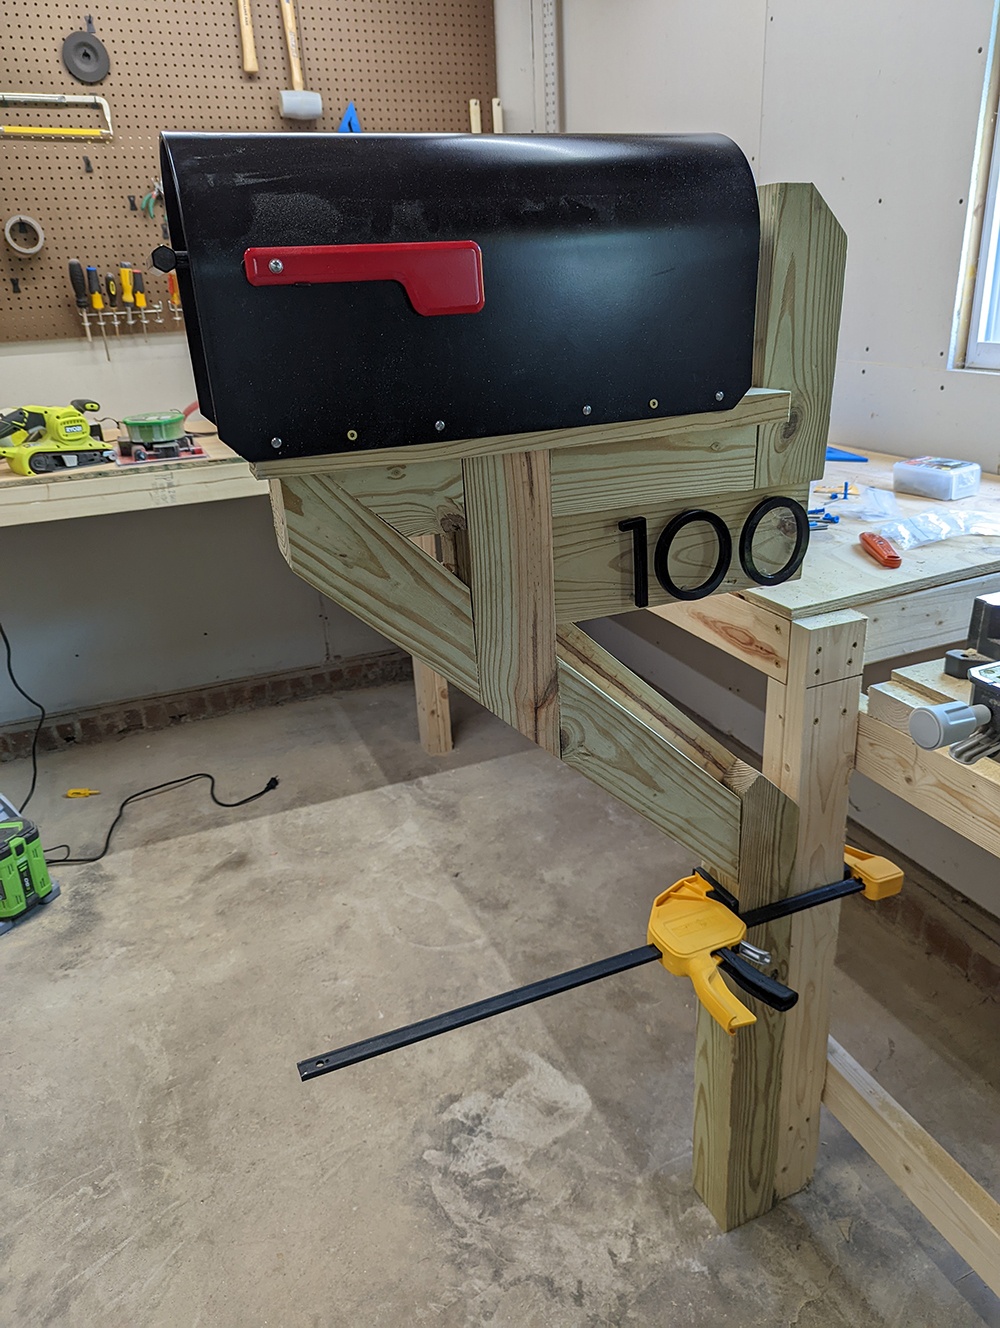
Next I sprayed it all down with some clear sealant, attached the box and numbers.
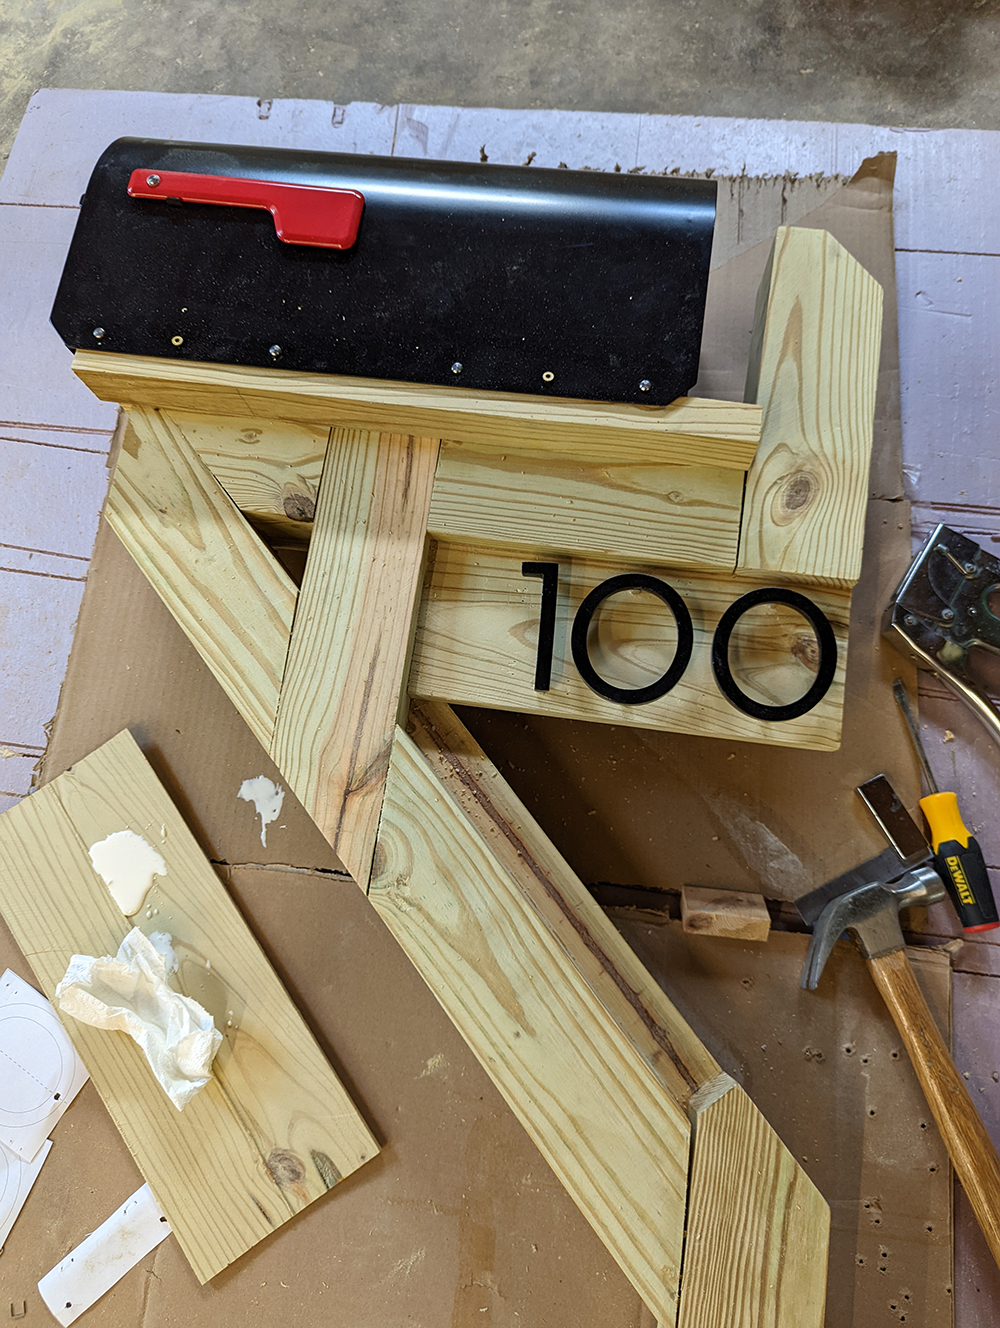
![Mailbox](/blog-images/building-a-way-too-complicated-mailbox/PXL_20220703_165940100.jpg)
![Mailbox](/blog-images/building-a-way-too-complicated-mailbox/PXL_20220703_171229625.jpg)
![Mailbox](/blog-images/building-a-way-too-complicated-mailbox/PXL_20220703_171237070.jpg)
Done!
![Mailbox](/blog-images/building-a-way-too-complicated-mailbox/PXL_20220703_173521909.jpg)
![Mailbox](/blog-images/building-a-way-too-complicated-mailbox/PXL_20220703_172559071.jpg)
![Mailbox](/blog-images/building-a-way-too-complicated-mailbox/PXL_20220703_172613767.jpg)
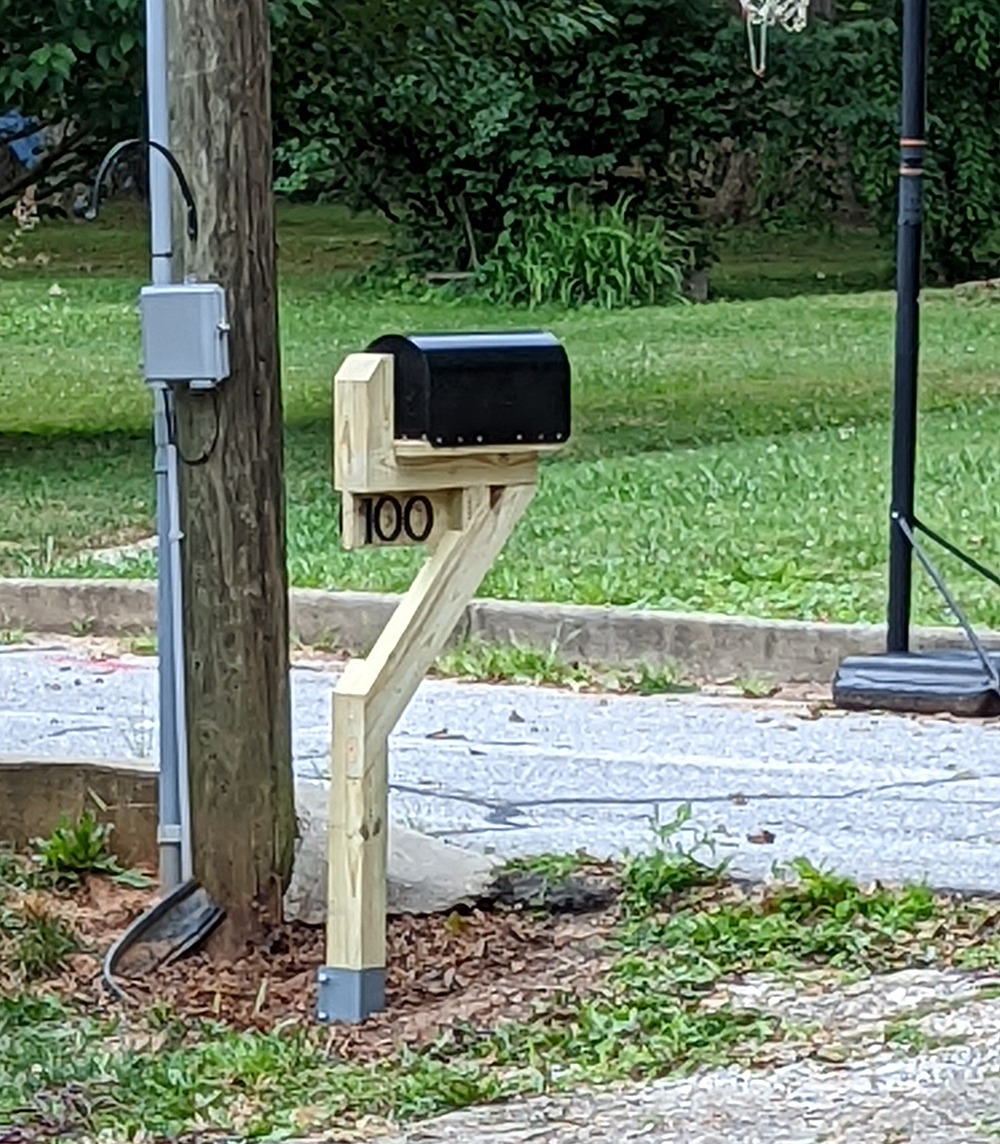
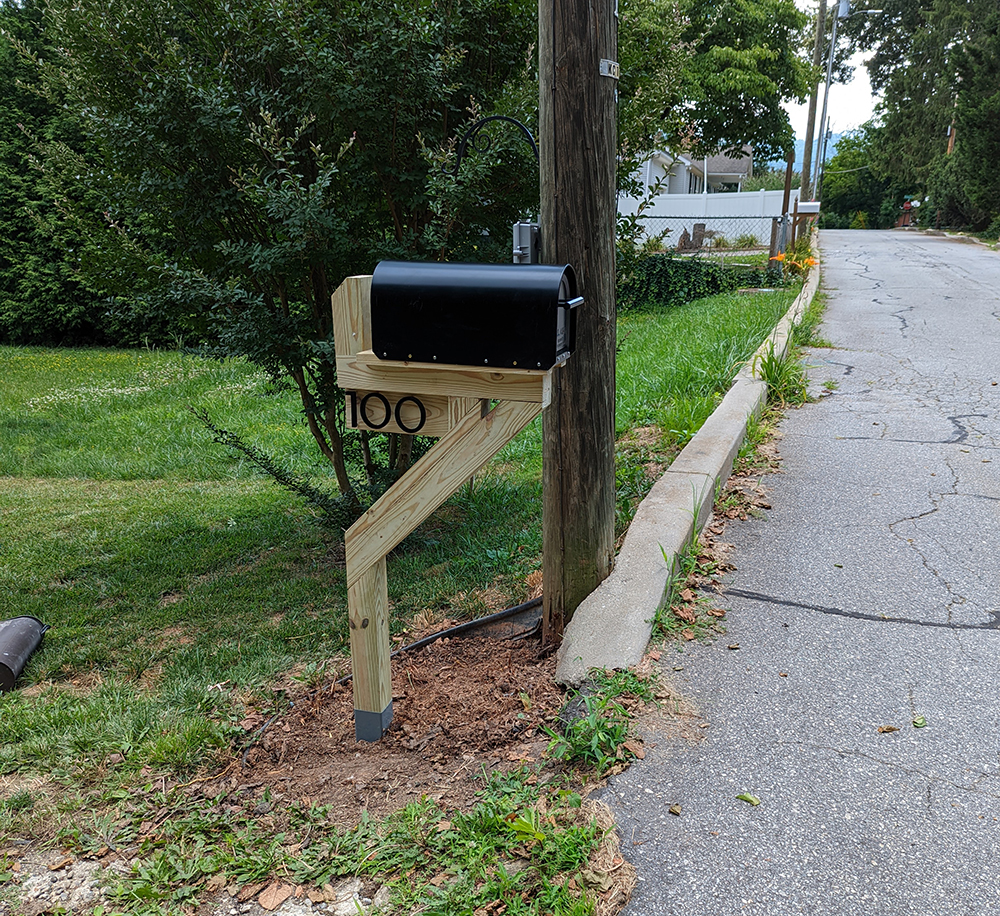
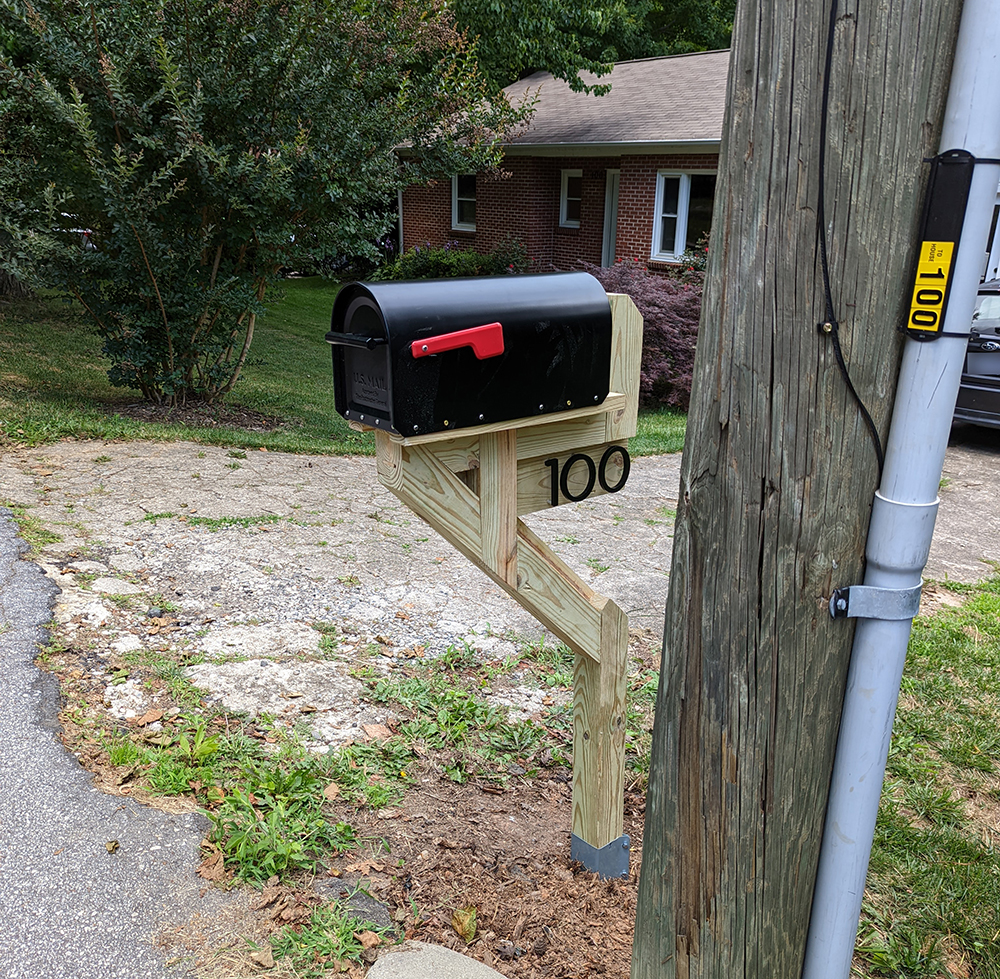
Until I finally saw it in the ground I was pretty worried about how it was going to look but I think it turned out great. If I did it over again I would change the design a bit. Maybe for the next house. Time to start the next project!